Keeping your users engaged is crucial for a seamless chatbot experience. With Chatbot Builder AI (CBB), you can set up a default reply with a timer to ensure your chatbot remains responsive, even if a user pauses mid-conversation. This step-by-step guide will walk you through creating this popular and practical flow.
Why Add a Timer to Your Default Reply?
A default reply with a timer ensures:
- Timely Engagement: Users receive a follow-up if they haven’t responded within a set time.
- Improved Responsiveness: Keeps conversations active and user-focused.
- Streamlined Communication: Automates follow-ups, saving time and enhancing user experience.
Step-by-Step Guide: Default Reply with Timer
1. Create a New Flow

- Navigate to the Flow section in Chatbot Builder AI.
- Click Add in the top-right corner and name your flow (e.g., "Default Flow with Timer").
- Click Continue to proceed.
2. Generate the Text Reply

- Add a Block: Name it "Generate Text Reply."
- Insert an AI Action:some text
- Click Add Content > Actions > Open AI.
- Instruct the AI to create a friendly reply in 2–3 lines ending with a question. Example:
"How can I assist you further? 😊" - Save the response in a custom field (e.g., "default_reply").
- Finalize: Remove any unnecessary functions and click Continue.
3. Set Up the Timer
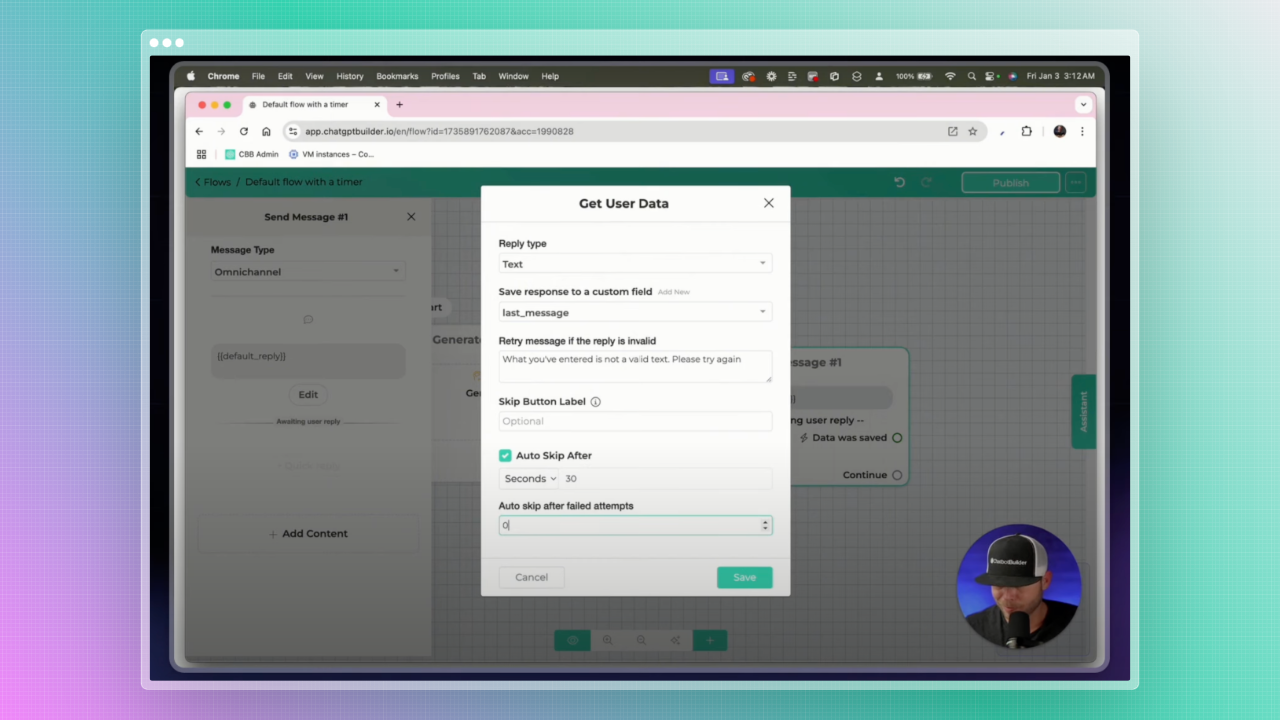
- Create a Timer Node:some text
- Drag a line from the "Continue" circle to create a new node.
- Choose "Get User Data" for this node.
- Insert the Default Reply:some text
- Input the default_reply custom field into the text area.
- Edit the Awaiting User Reply Text section, changing the reply type to text.
- Configure Timer Settings:some text
- Enable Skip After and set the timer (e.g., 30 seconds).
- In Auto Skip After Filled Attempts, set attempts to zero and save the changes.
4. Clear the Custom Field

- Add a Content Action:some text
- Click Add Content > Actions > Clear Custom Field.
- Select the last_message custom field.
- Reorder the Action:some text
- Place the "Clear Custom Field" action before the default reply text.
- Rename the Block: Title it "Send Reply and Wait."
5. Create a Condition Block
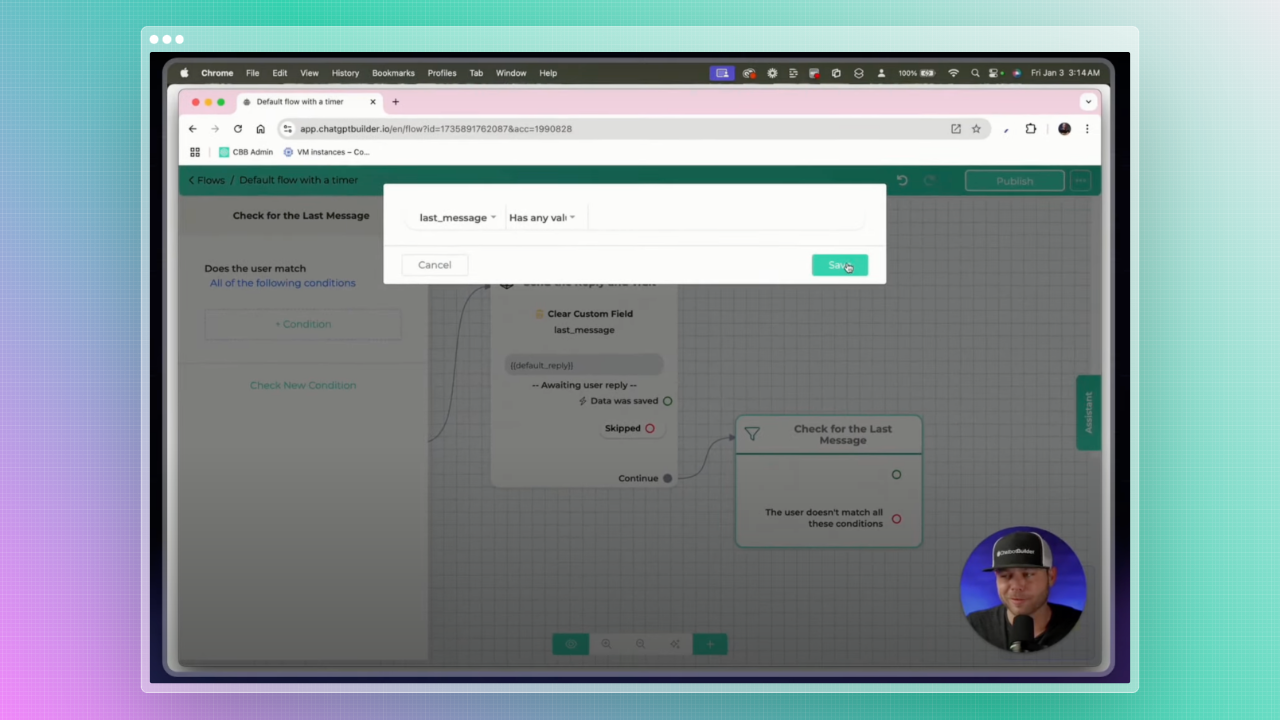
- Add a new node and set it as a Condition Block.
- Configure it to check if the last_message custom field contains any value.
- Use this block to direct the flow based on whether the user responds.
6. Set Up a Follow-Up
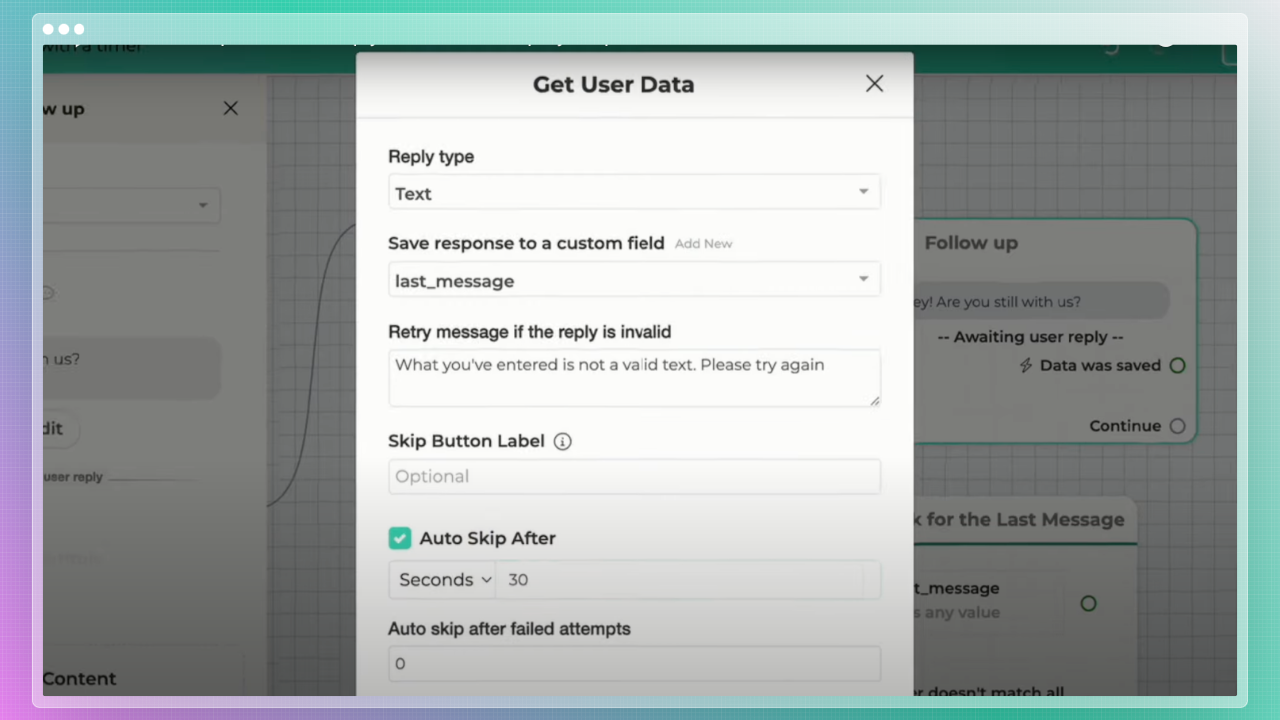
- Create a Follow-Up Node:some text
- Name it "Follow Up" and add a Get User Data element.
- Input a follow-up message like:
"Hey, are you still with us?" - Use the same last_message custom field.
- Adjust Timer Settings:some text
- Set the auto-skip and timer as done previously.
💡 Pro Tip: Add actions such as tagging the conversation as ended or logging the event for analytics.
7. Loop Back or Restart the Flow
- If the user responds, connect the condition block to a Start Flow action.
- Restart the Default Flow with Timer to reinitiate the sequence.
8. Test and Publish
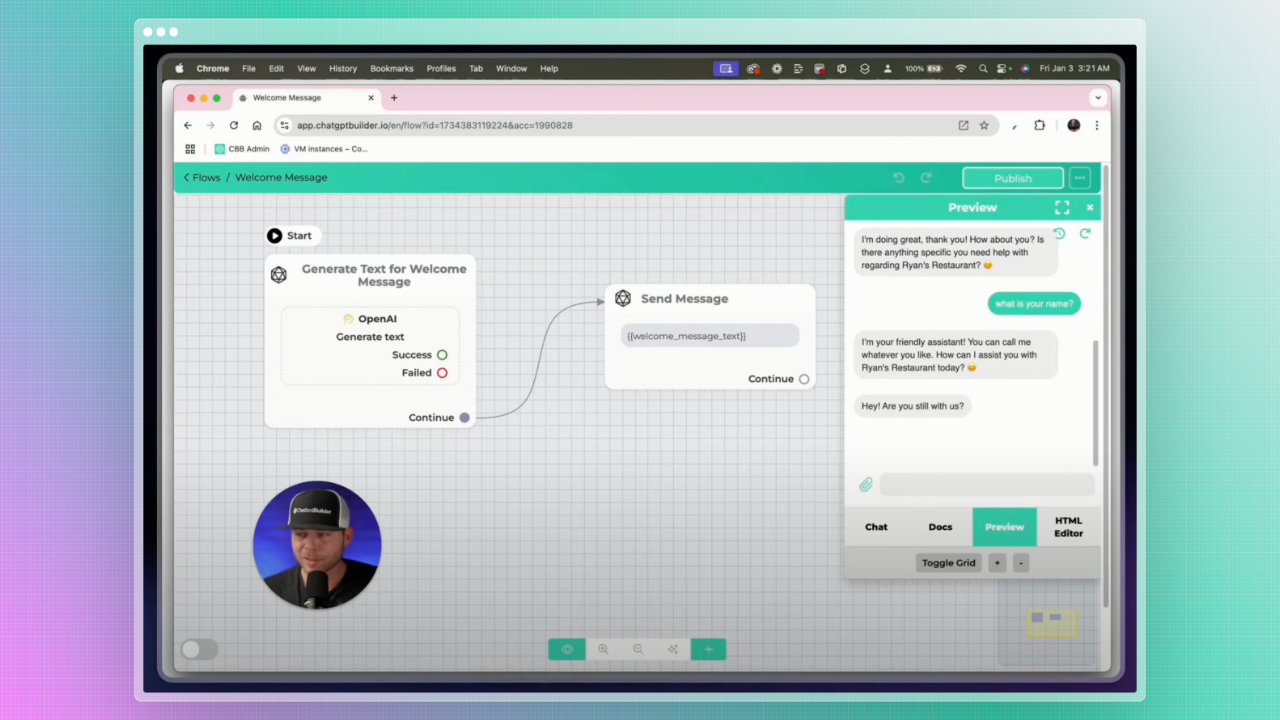
- Test the Flow:some text
- Use the preview button to simulate user interactions.
- Adjust the wait time and message content as needed.
- Set as Default:some text
- Disable the default agent in settings.
- Assign your new Default Flow with Timer as the default flow.
- Publish Changes: Ensure everything works seamlessly before making it live.
Benefits of a Default Reply with Timer
- User Engagement: Keeps users active in conversations, reducing drop-offs.
- Automation: Handles follow-ups without manual intervention.
- Efficiency: Streamlines interactions and ensures no user query is overlooked.
Conclusion
By implementing a default reply with a timer, you enhance your chatbot’s responsiveness and user experience. With Chatbot Builder AI’s intuitive tools, setting up this functionality is quick and easy. Start creating engaging, automated follow-ups to keep your users satisfied and your conversations flowing.
Ready to elevate your chatbot? Build your Default Reply with Timer flow today with Chatbot Builder AI!
.png)