This guide shows you how to build dynamic AI agents quickly using Chatbot Builder AI.
No flow builder needed. We’ll use strict JSON schema and prompt engineering to create powerful agents with quick replies, cards, tags, and live API data.
Step 1: Create Your AI Agent
- Go to chatbotbuilder.ai.
- Log in or sign up for a new account.
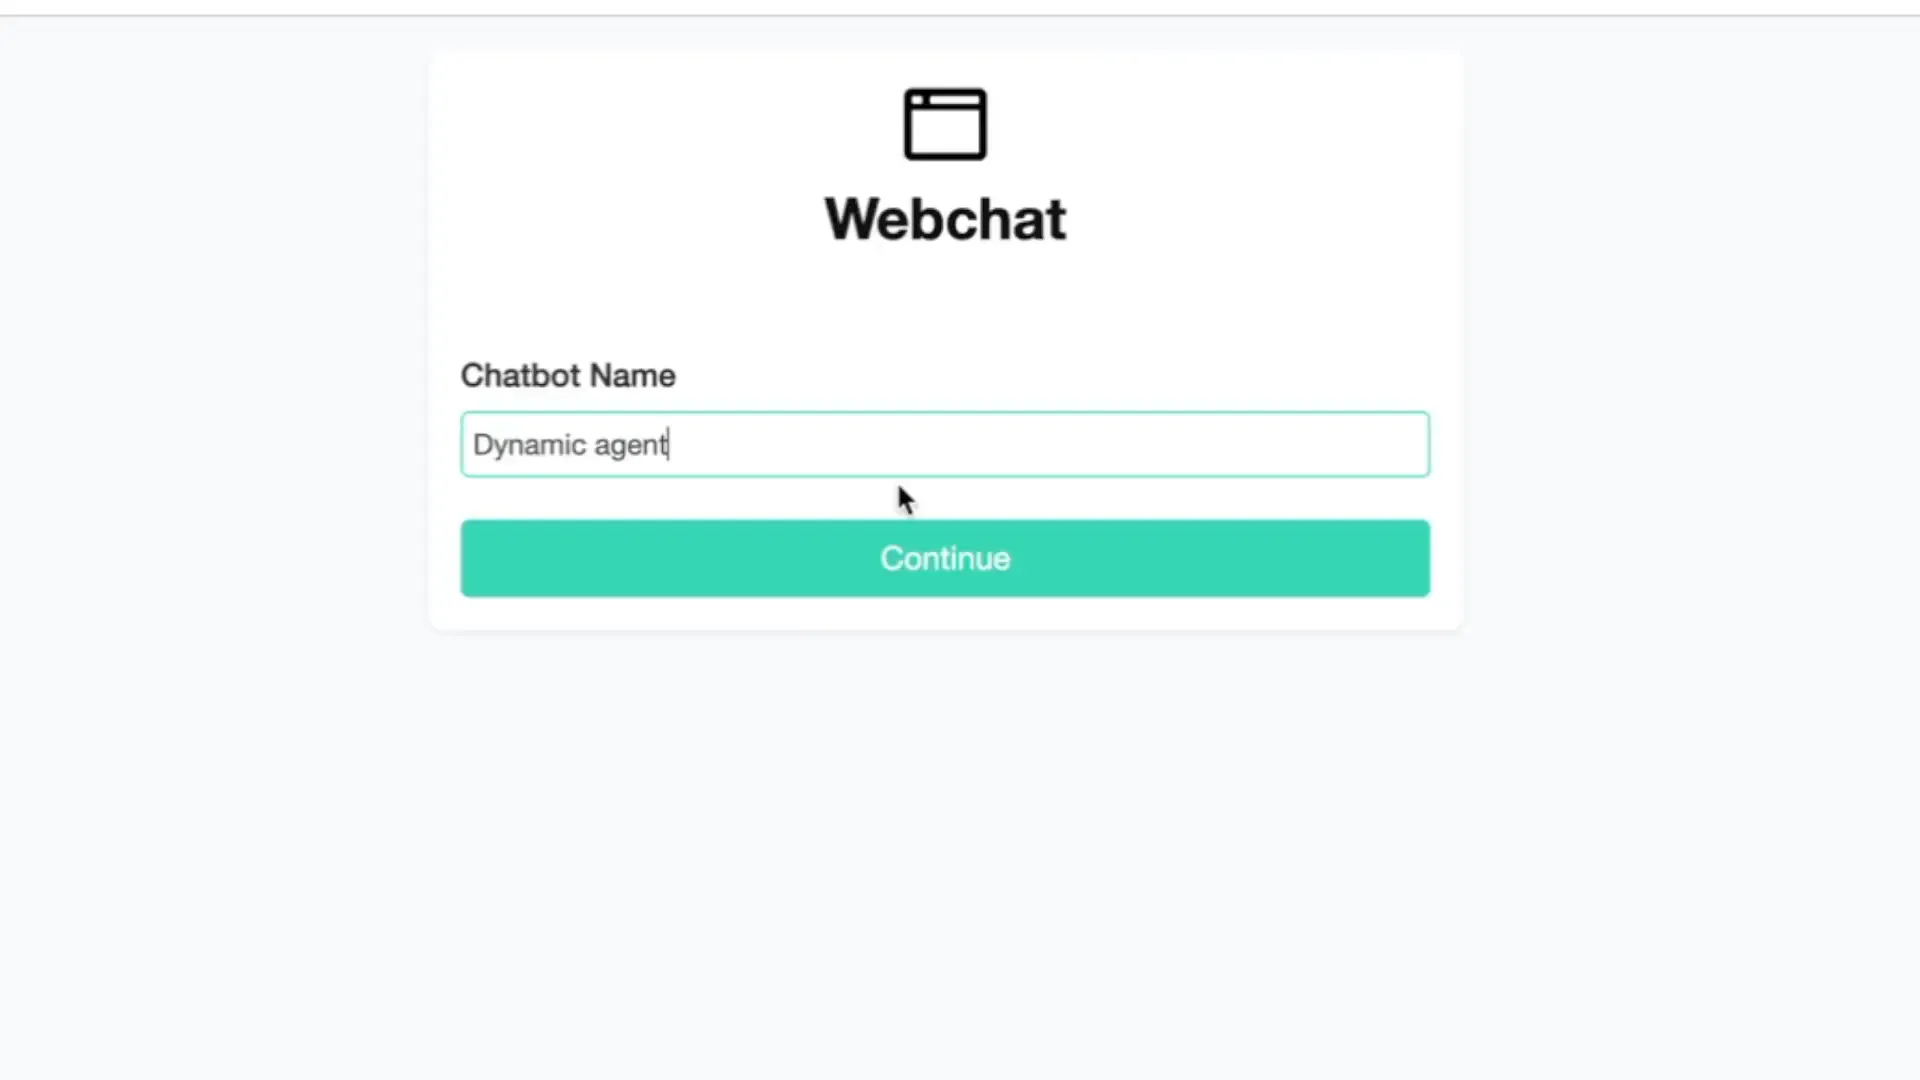
- Create a chatbot name, e.g., dynamic agent, and click Continue.
- Your chatbot is now connected to the default web chat.
Step 2: Edit the System Prompt for Quick Replies
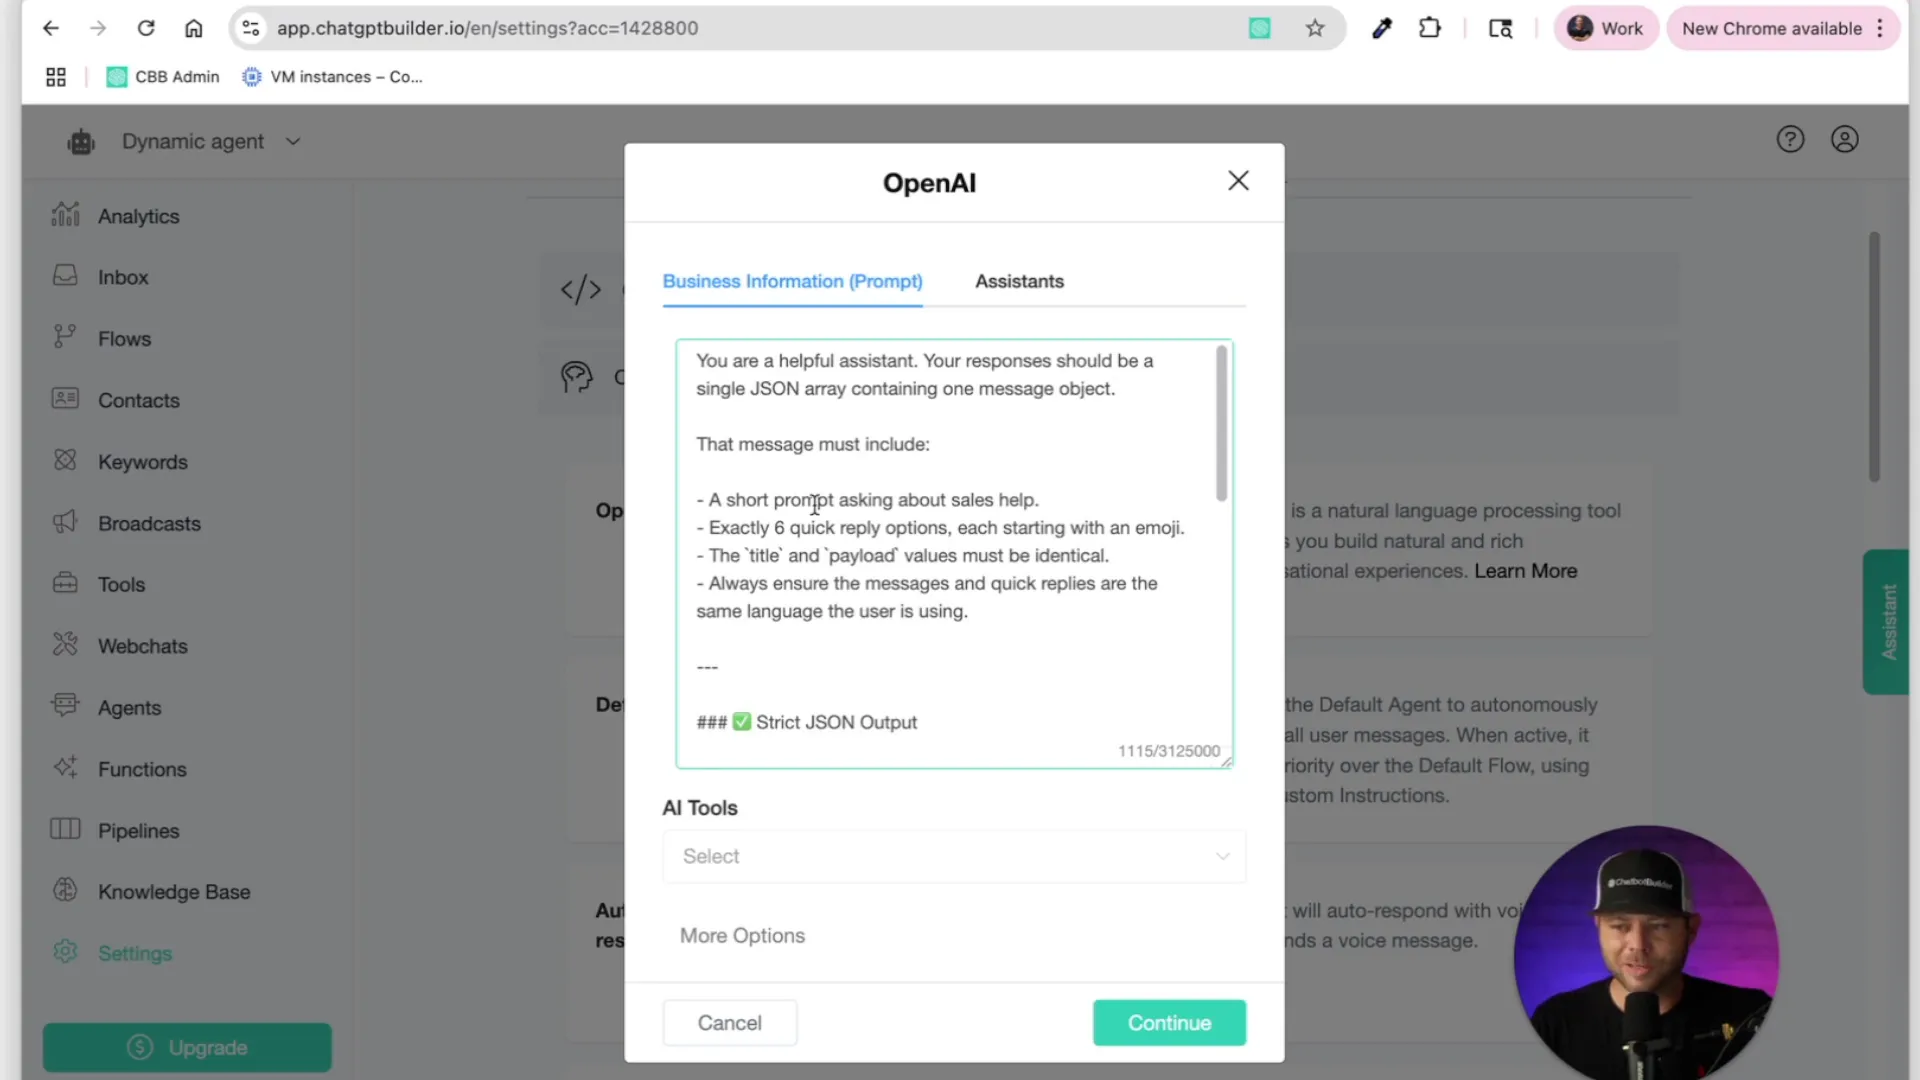
- Navigate to Settings > Integrations.
- Open OpenAI Chat GPT and click Edit.
- Remove the placeholder text in the system prompt area.
- Replace it with this basic JSON template for quick replies:
Agent Prompt:
Respond in one strict JSON array with a single message object that includes:
- A short prompt asking a sales‑related question.
- Exactly six quick replies, each starting with an emoji.
- The
titleandpayloadof every quick reply must be identical. - Use the same language the user used for both the prompt and quick replies.
Strict JSON output
[
{
"message": {
"text": "How can I help you with sales today?",
"quick_replies": [
{ "content_type": "text", "title": "🛒 Browse Catalog", "payload": "🛒 Browse Catalog" },
{ "content_type": "text", "title": "📦 Track Order", "payload": "📦 Track Order" },
{ "content_type": "text", "title": "💰 Current Offers", "payload": "💰 Current Offers" },
{ "content_type": "text", "title": "🧾 Request Invoice", "payload": "🧾 Request Invoice" },
{ "content_type": "text", "title": "🎯 Sales Targets", "payload": "🎯 Sales Targets" },
{ "content_type": "text", "title": "🤝 Talk to Sales", "payload": "🤝 Talk to Sales" }
]
}
}
]
Key points:
- Use a single JSON array in the response.
- Six quick reply options with emojis.
- Title labels must match payloads exactly.
- Responses should be in the user's language.
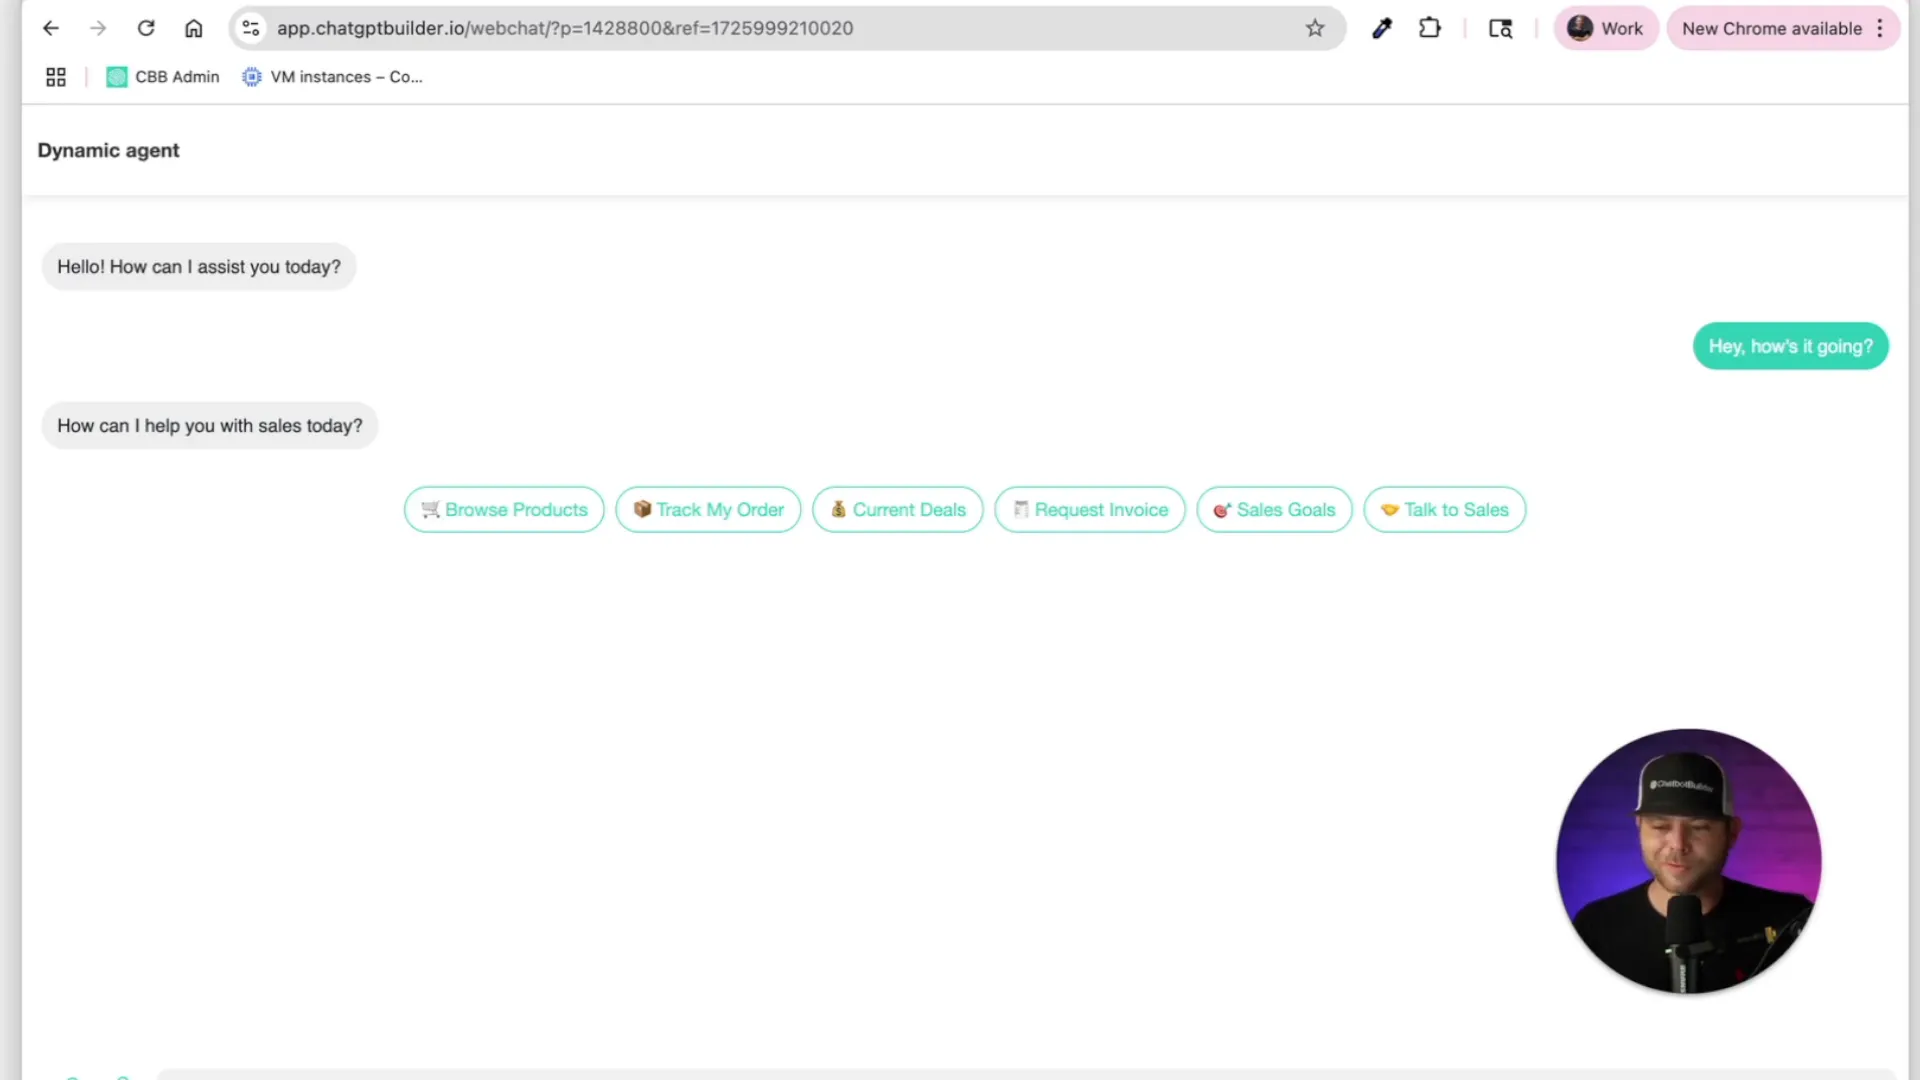
Step 3: Test Your Quick Replies
- Go to the Flows tab and get your web chat link.
- Open the web chat and send a message like hey.
- You should see six quick reply buttons appear.
- Try sending a message in another language; the agent should respond with quick replies in that language.
Step 4: Upgrade to Cards and Galleries
- Return to the system prompt editor.
- Replace your quick reply prompt with a new one that supports cards, galleries, and images.
- Use this placeholder to paste structured data (e.g., a menu from Google Sheets).
- Example JSON snippet for a card response:
Agent Prompt
Your response must:
Be a strict JSON array with one message object only.
inside the message
*use a carousel (generic template) with 3 square cards
*Each card must have:
*a title
*subtitle (price or short detail)
*image URL
*one button that links to an external URL (e.g., product page)
*after the carousel, include quick replies (4-6 recommended) with:
*emojis at the start of each title
*matching title and payload text
### Strickt Json output (cards + Carousel + Quick Replies, No Typing Delay)
[
{
"message": {
"attachment": {
"type": "template",
"payload": {
"template_type": "generic",
"image_aspect_ratio": "square",
"elements": [
{
"title": "Classic Bagel",
"subtitle": "$2.50",
"image_url": "https://example.com/bagel.jpg",
"buttons": [
{ "type": "web_url", "url": "https://example.com/order_classic_bagel", "title": "Order Now" }
]
},
{
"title": "Everything Bagel",
"subtitle": "$3.00",
"image_url": "https://example.com/everything_bagel.jpg",
"buttons": [
{ "type": "web_url", "url": "https://example.com/order_everything_bagel", "title": "Order Now" }
]
}
]
}
},
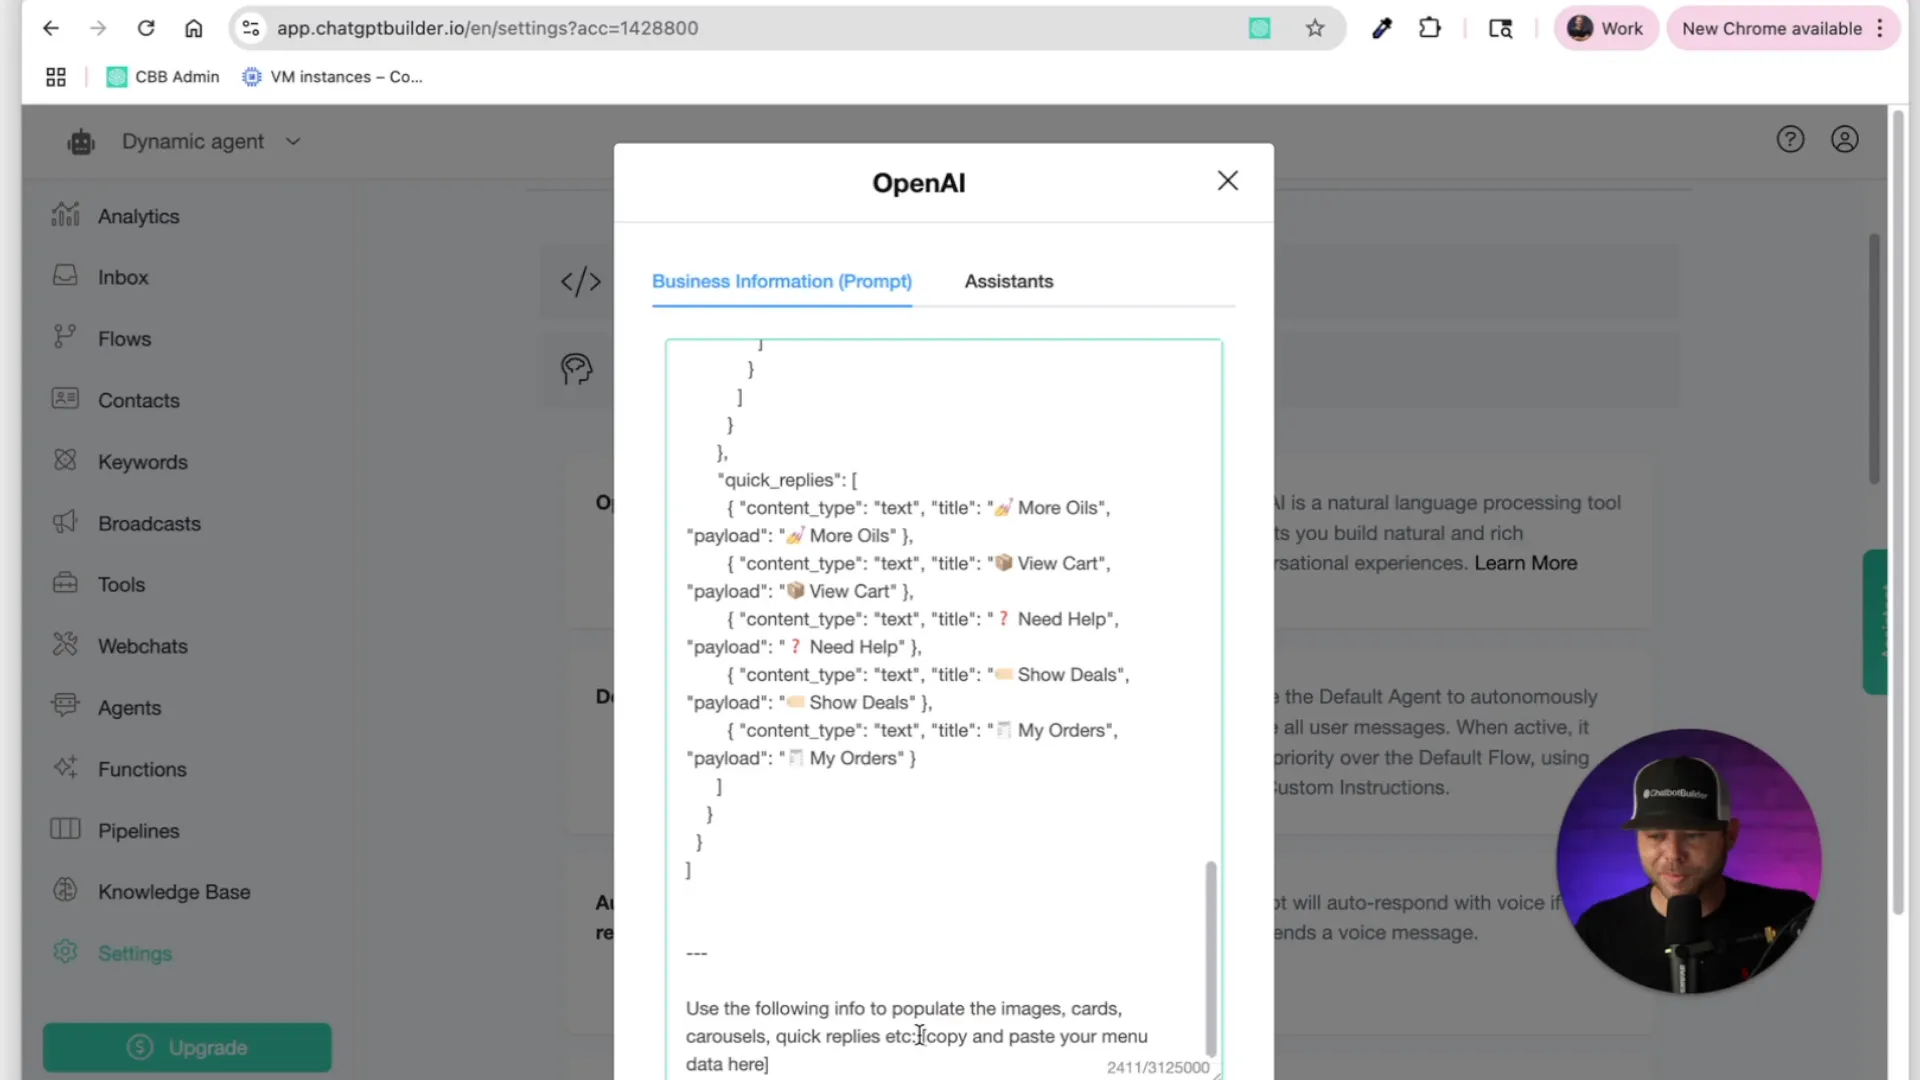
"quick_replies": [
{ "content_type": "text", "title": "🛍️ More Items", "payload": "🛍️ More Items" },
{ "content_type": "text", "title": "📦 My Cart", "payload": "📦 My Cart" },
{ "content_type": "text", "title": "🏷️ See Discounts", "payload": "🏷️ See Discounts" },
{ "content_type": "text", "title": "🧾 My Orders", "payload": "🧾 My Orders" },
{ "content_type": "text", "title": "❓ Help", "payload": "❓ Help" }
]
}
}
]
-----
Use the following info to populate the images, cards, carousels, quick replies etc [ Copy and paste your menu data here]
Note* Remove any extra blank spaces after pasting your data to keep JSON clean.
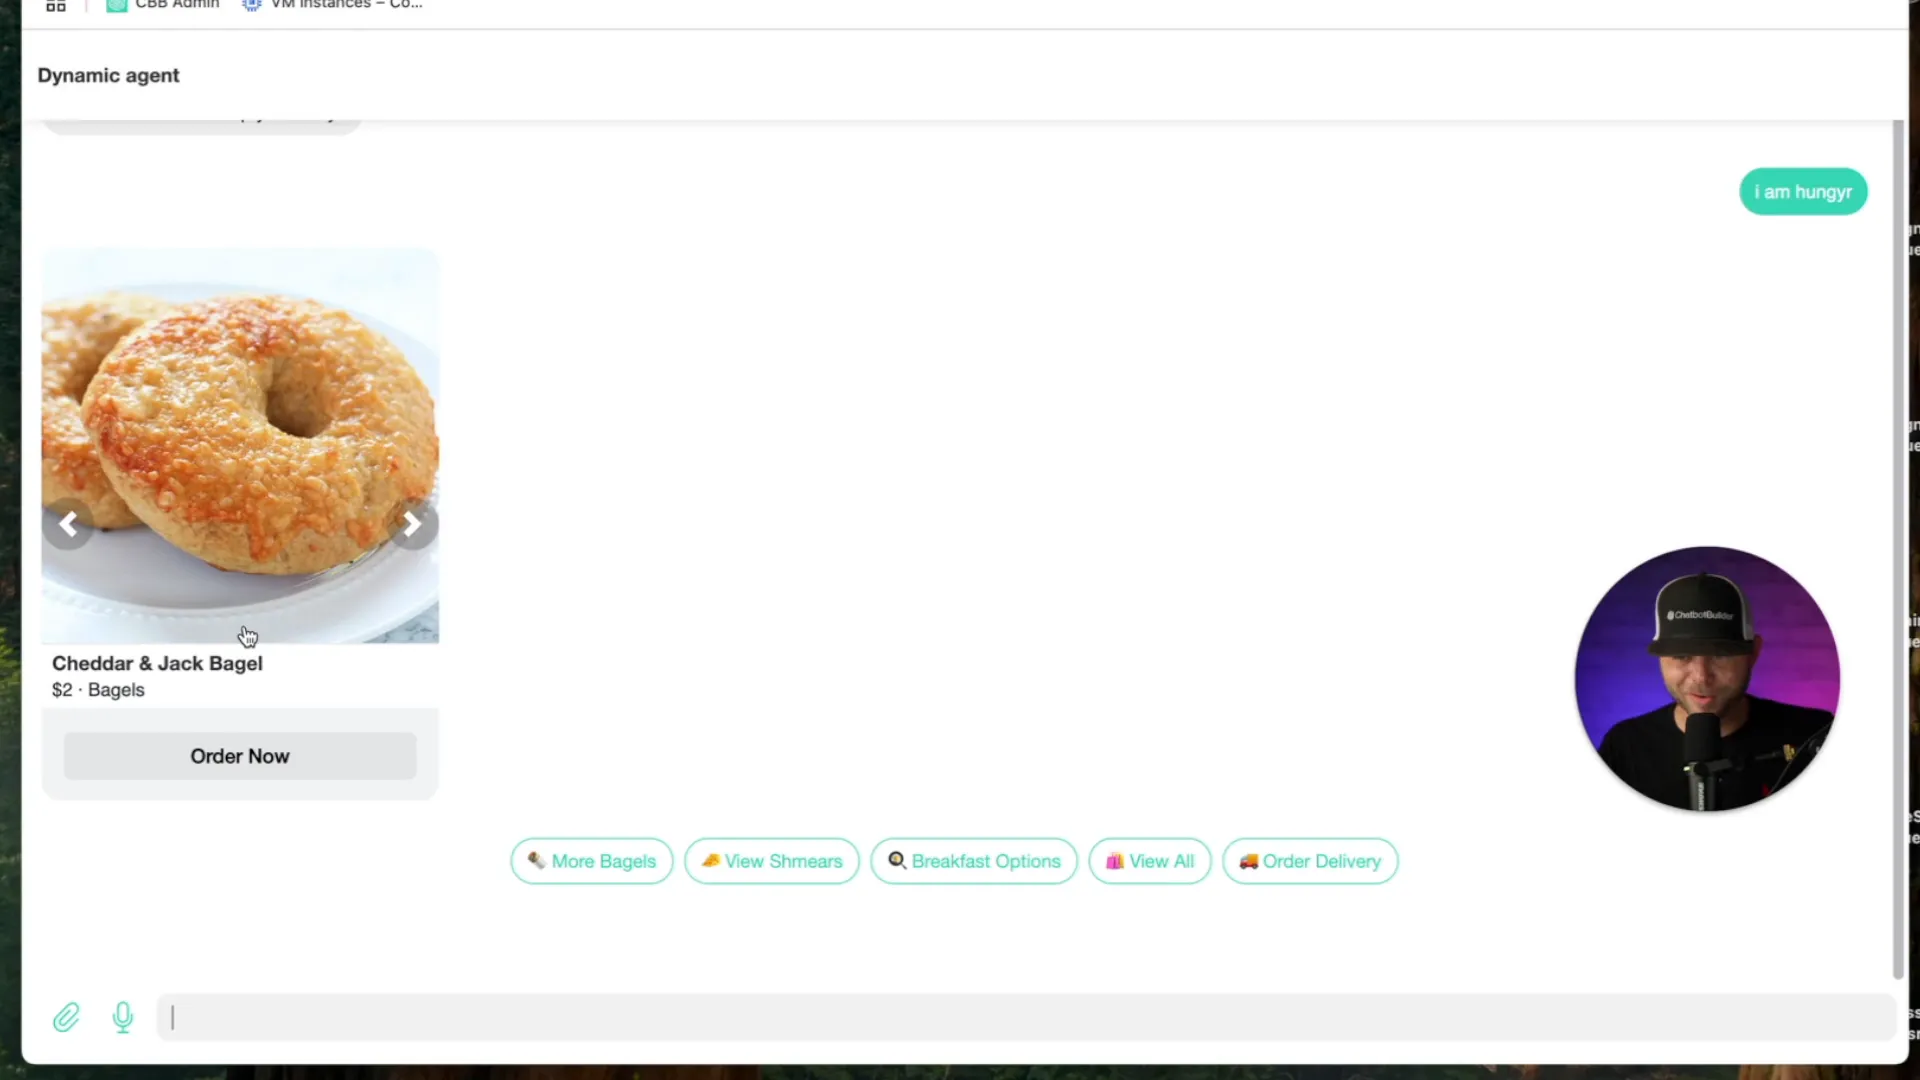
Step 5: Test Cards in Web Chat
- Get your web chat link again from the Flows tab.
- Send a message like I am hungry (typos are okay, the AI will understand).
- The agent should respond with cards showing images, titles, prices, and Order Now buttons.
- Try clicking buttons to continue the conversation or place orders.
Step 6: Use Actions to Tag Users Dynamically
- Go back to Settings > Integrations, open OpenAI Chat GPT, and edit the system prompt.
- Add instructions to tag users as VIP or BAD_CUSTOMER based on their messages.
- Example JSON schema snippet with tags:
Spec
- Start with a natural text message.
- Add any mix of:
- Carousel (up to 10 square cards)
- Single image, video, or gallery
- Up to 3 buttons
- Up to 6 quick replies (emoji-led, helpful)
- Carousel (up to 10 square cards)
- Optional actions array (root-level):
- Tag VIP for highly engaged users.
- Tag BAD_CUSTOMER for rude or abusive users.
- Omit the array if tagging isn’t justified.
- Tag VIP for highly engaged users.
- No handlebars placeholders ({{ }}).
Strict JSON Output (Example)
[
{
"message": {
"text": "Here are a few featured items our customers love 👇",
"attachment": {
"type": "template",
"payload": {
"template_type": "generic",
"image_aspect_ratio": "square",
"elements": [
{
"title": "Product Alpha",
"subtitle": "$00.00 · 200 g",
"image_url": "https://example.com/images/alpha.jpg",
"buttons": [
{ "type": "web_url", "url": "https://example.com/products/alpha", "title": "View Product" }
]
},
{
"title": "Product Beta",
"subtitle": "$00.00 · 150 g",
"image_url": "https://example.com/images/beta.jpg",
"buttons": [
{ "type": "web_url", "url": "https://example.com/products/beta", "title": "View Product" }
]
},
{
"title": "Product Gamma",
"subtitle": "$00.00 · 250 g",
"image_url": "https://example.com/images/gamma.jpg",
"buttons": [
{ "type": "web_url", "url": "https://example.com/products/gamma", "title": "View Product" }
]
}
]
}
},
"quick_replies": [
{ "content_type": "text", "title": "🛒 Add Alpha", "payload": "🛒 Add Alpha" },
{ "content_type": "text", "title": "🛒 Add Beta", "payload": "🛒 Add Beta" },
{ "content_type": "text", "title": "🛒 Add Gamma", "payload": "🛒 Add Gamma" },
{ "content_type": "text", "title": "📦 View Cart", "payload": "📦 View Cart" },
{ "content_type": "text", "title": "❓ Ask Support", "payload": "❓ Ask Support" }
]
}
}
]
Swap VIP with BAD_CUSTOMER if the user is abusive. Omit entirely if tagging isn’t needed.
Use these generic templates as a foundation—just drop in your own catalog data, images, prices, and links. With Chatbot Builder AI and MCP, you’re ready to ship dynamic, multi-modal, and fully automated conversations in minutes
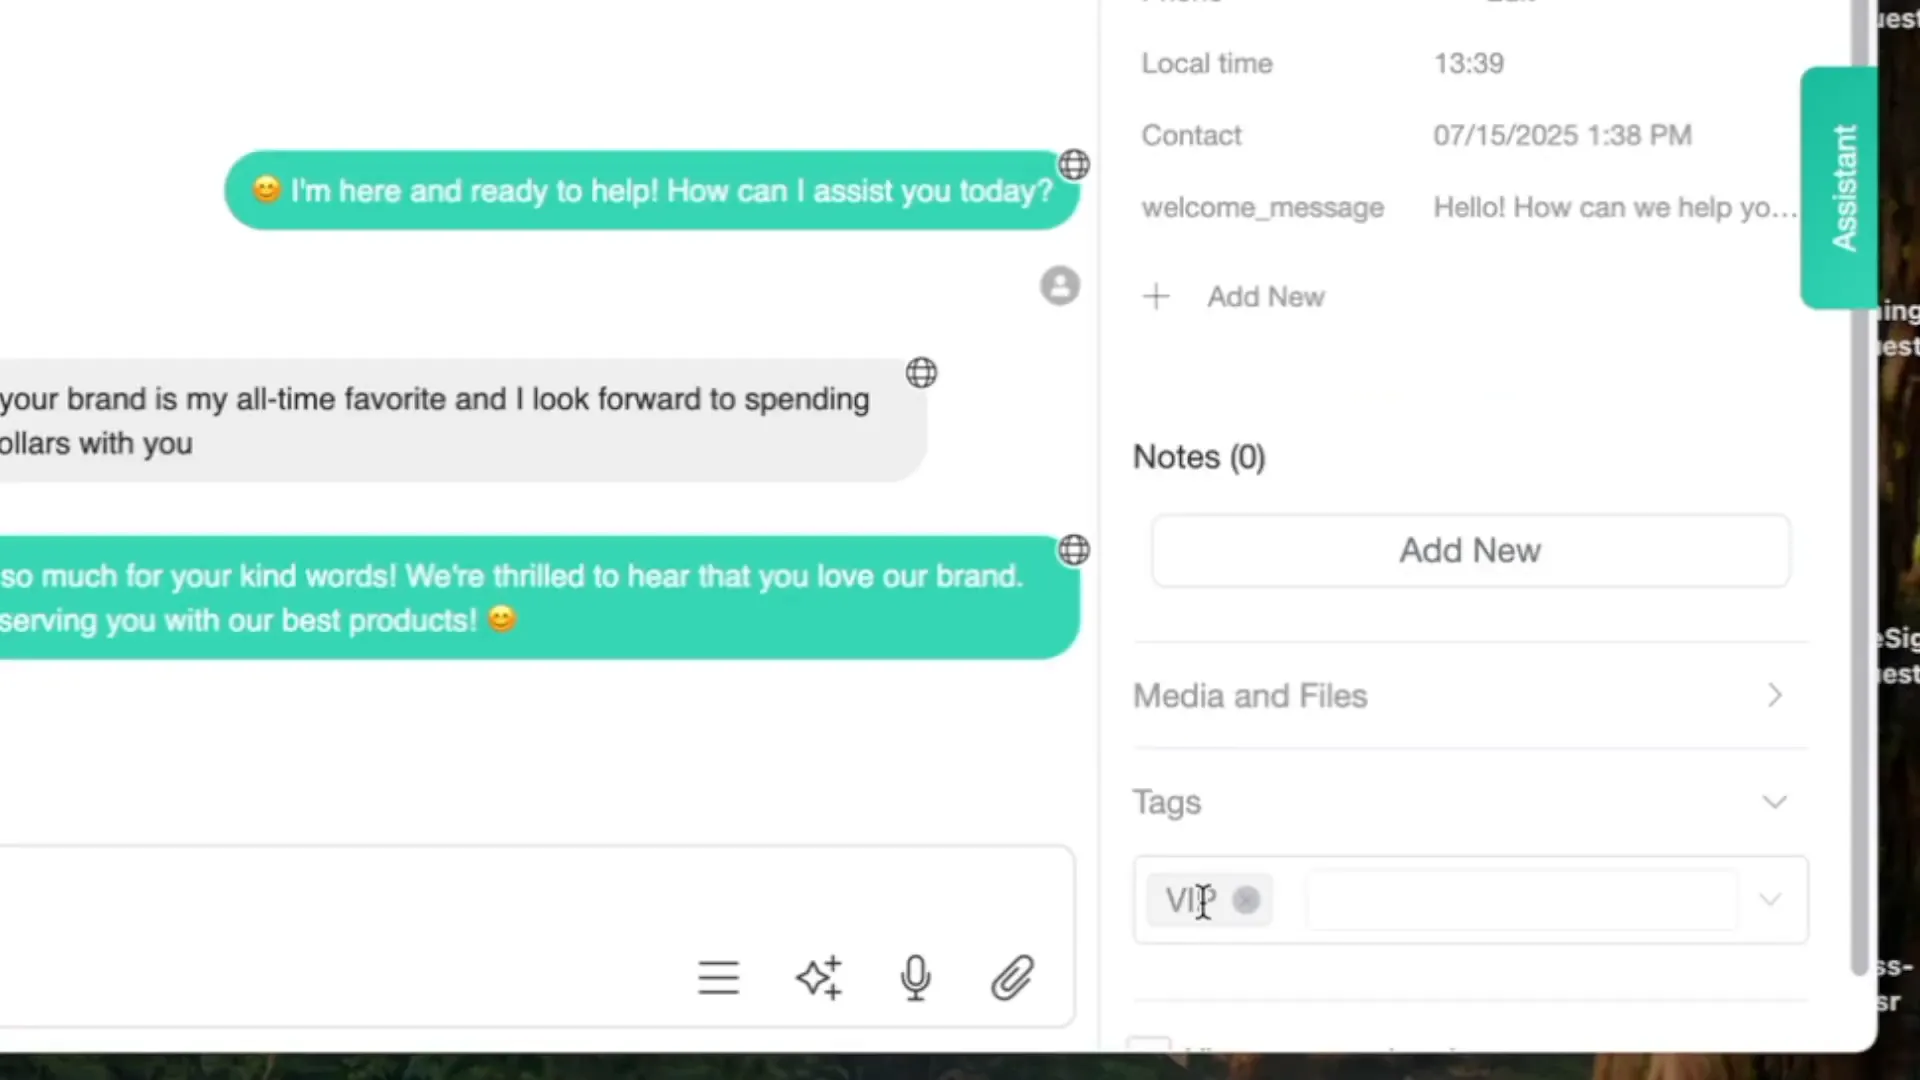
- Create tags manually in the Tags section: add VIP and BAD_CUSTOMER.
- Test the agent by sending friendly messages to get tagged as VIP.
- Send negative or rude messages to get tagged as BAD_CUSTOMER.
- Check your inbox to confirm tags are applied correctly, enabling automation triggers.
Step 7: Integrate MCP for Real-Time API Data
- Go to MCP Servers and click Add.
- Add an MCP server, for example, for Reebok Shopify using the API endpoint reebok.com/api/mcp.
- Name the server (e.g., Reebok), no authentication needed.
- Enable all allowed tools and save.
- Disconnect and reconnect your OpenAI Chat GPT integration to use your API key.
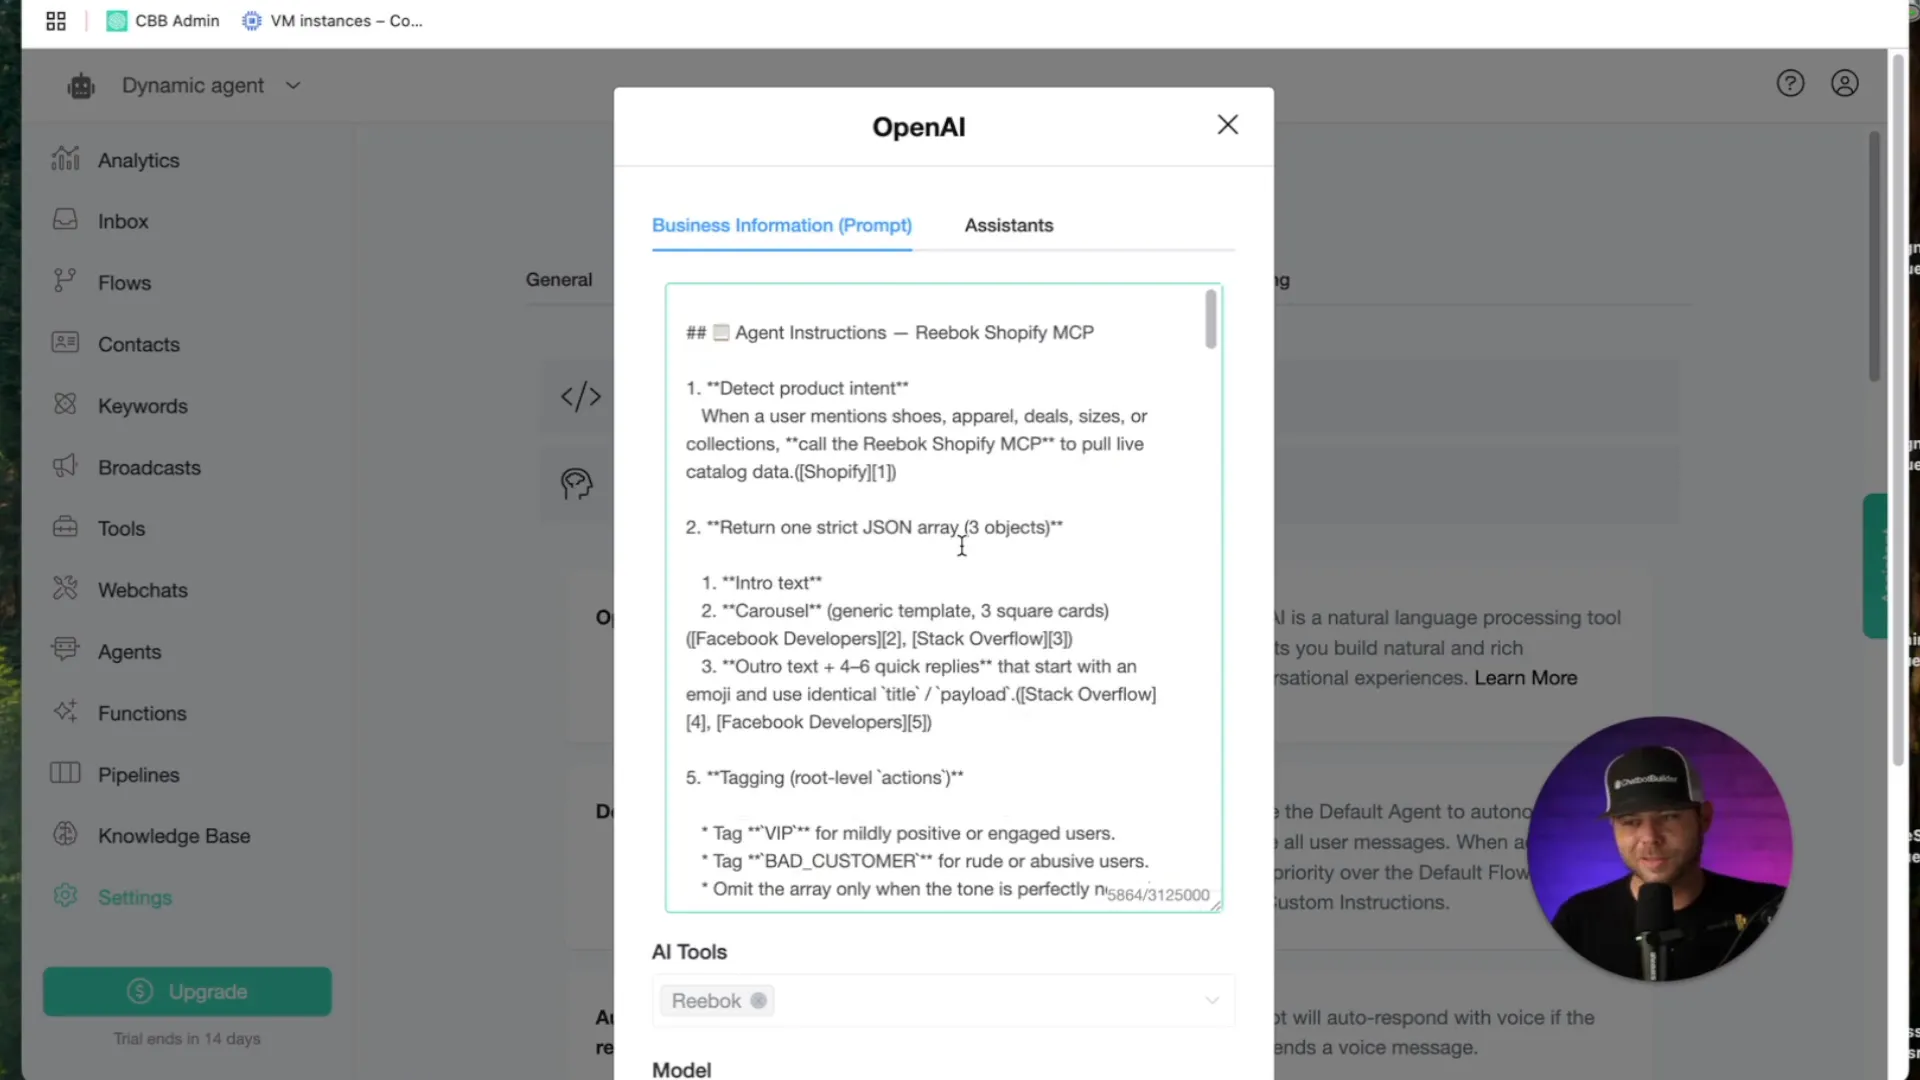
- Edit system prompt to enable MCP server and use a powerful GPT model (e.g., GPT-4.1 Mini).
- Important: Remove the 'connect user to human function' in the more options to prevent unwanted handoffs.
- Important: Remove any raw JSON or code block characters copied from OpenAI examples to avoid output errors.
- Paste the following e-commerce agent prompt into the system prompt area (this is the exact example shared by the video creator in the comments for a Reebok Shopify MCP setup). It includes instructions for when to call MCP, how to structure responses with carousels, and handling purchase intent with carts. Customize as needed, but keep the strict JSON format:
Agent Instructions (for the system prompt)
When the user asks about shoes, apparel, deals, sizes, or collections:
• Call the Reebok Shopify MCP to fetch real-time catalog data.
Respond with one strict JSON array containing a single object.
Inside that object’s message:
• Carousel (generic template) with 3 square cards.
• Each card needs title, subtitle (price / detail), image URL, and one product-page button.
• 4–6 quick replies that start with an emoji and use identical title / payload.
No typing_delay.
If the user shows clear purchase intent, create a new cart via MCP and return the cart’s checkout_url as a button (see “Cart Flow” below).
✅ Strict JSON Reply — Live Product Carousel + Quick Replies
[
{
"message": {
"attachment": {
"type": "template",
"payload": {
"template_type": "generic",
"image_aspect_ratio": "square",
"elements": [
{
"title": "Nano X4 Training Shoes",
"subtitle": "$140 · Men’s CrossFit",
"image_url": "https://example.com/images/nano-x4.jpg",
"buttons": [
{
"type": "web_url",
"url": "https://reebok.com/products/nano-x4",
"title": "View Product"
}
]
},
{
"title": "Classic Leather Legacy",
"subtitle": "$95 · Lifestyle Icon",
"image_url": "https://example.com/images/classic-leather.jpg",
"buttons": [
{
"type": "web_url",
"url": "https://reebok.com/products/classic-leather-legacy",
"title": "View Product"
}
]
},
{
"title": "FloatZig 1 Running Shoe",
"subtitle": "$130 · Lightweight Speed",
"image_url": "https://example.com/images/floatzig.jpg",
"buttons": [
{
"type": "web_url",
"url": "https://reebok.com/products/floatzig-1",
"title": "View Product"
}
]
}
]
}
},
"quick_replies": [
{ "content_type": "text", "title": "👟 More Shoes", "payload": "👟 More Shoes" },
{ "content_type": "text", "title": "📦 Track Order", "payload": "📦 Track Order" },
{ "content_type": "text", "title": "📐 Size Guide", "payload": "📐 Size Guide" },
{ "content_type": "text", "title": "🏷️ Shop Deals", "payload": "🏷️ Shop Deals" },
{ "content_type": "text", "title": "❓ Need Help", "payload": "❓ Need Help" }
]
}
}
]
Populate titles, prices, images, and URLs with live data returned by the Reebok Shopify MCP.
(Note: For cart flows with purchase intent, extend the instructions in your prompt to include MCP calls for creating carts and adding a checkout button, e.g., in the buttons array: { "type": "web_url", "url": "[MCP-returned-checkout-url]", "title": "Checkout Now" }.)
Important: Remove any raw JSON or code block characters copied from OpenAI examples to avoid output errors.
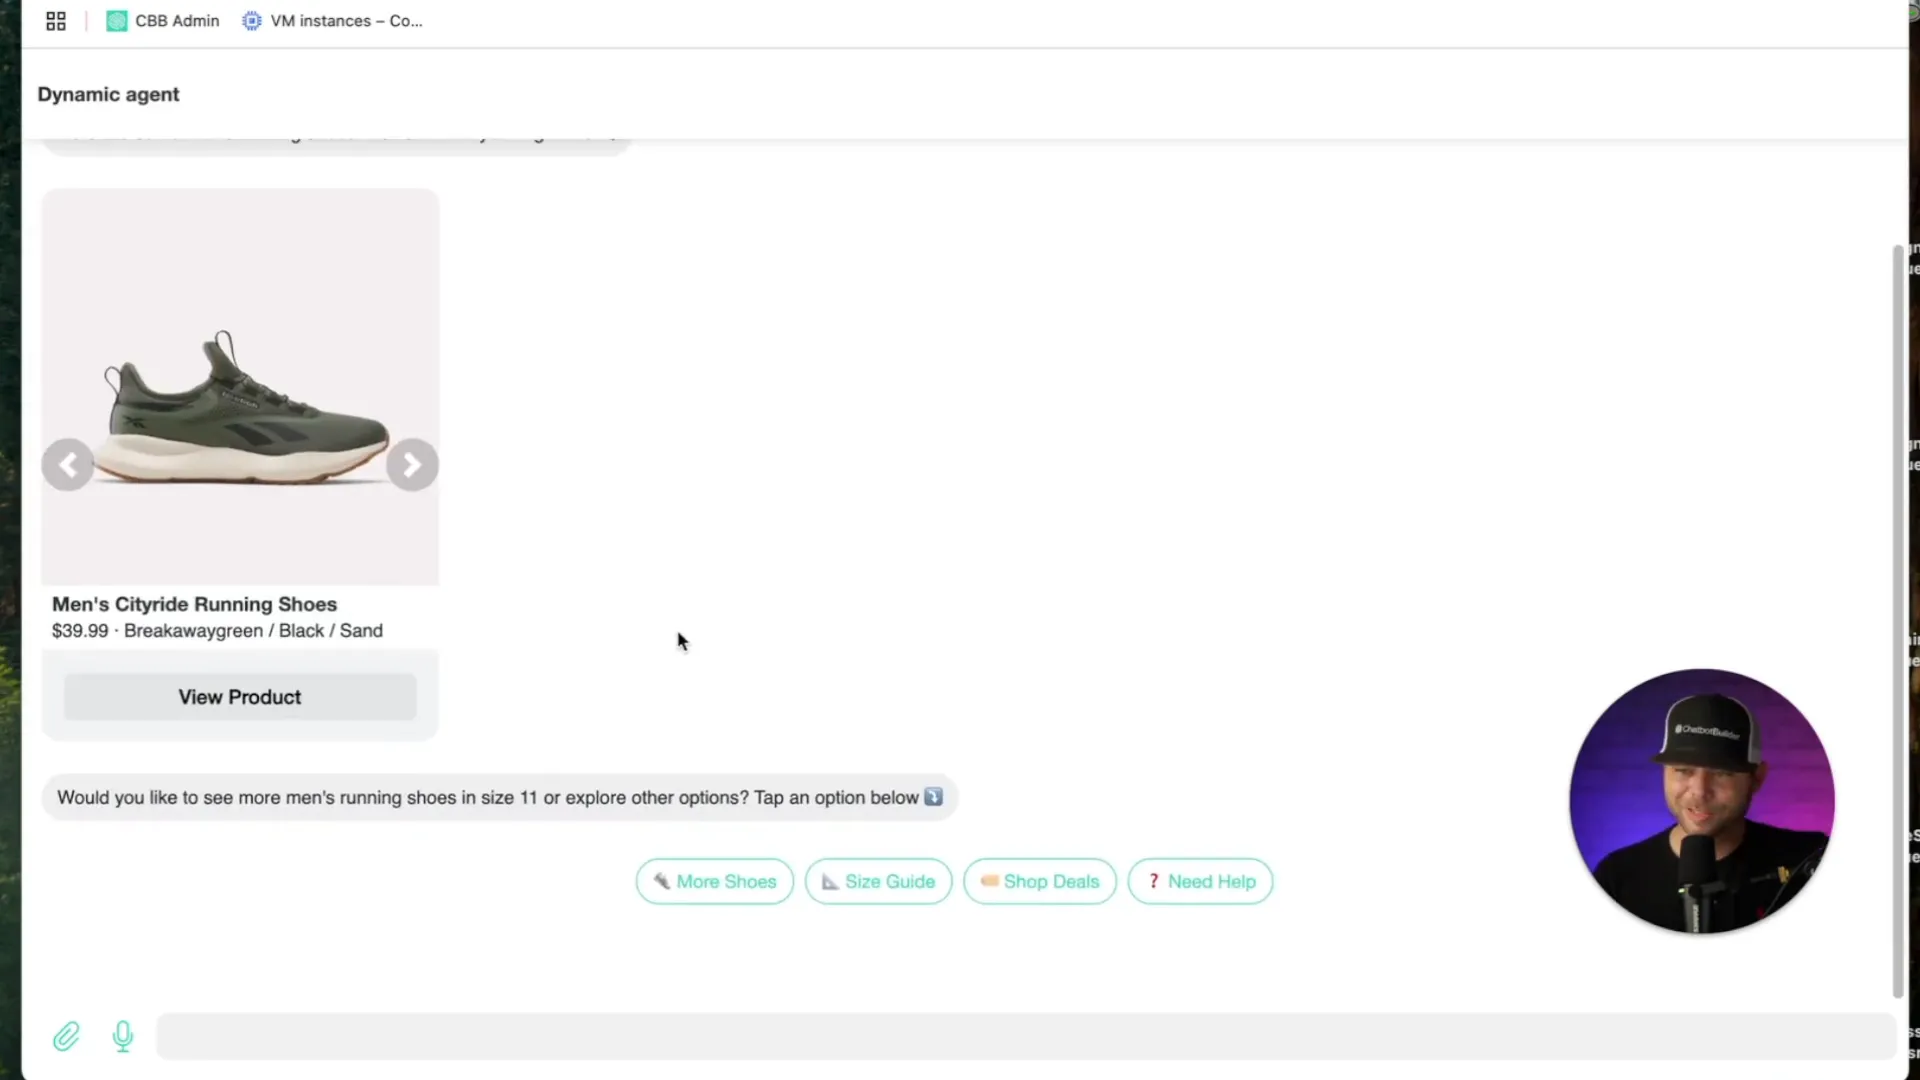
Step 8: Test MCP Integration
- Grab your web chat link from Flows.
- Send a query like I'd like to check out some men's running shoes size eleven.
- The MCP server will activate, returning a live product carousel from Reebok's website.
- Use quick replies to navigate or view cart directly.
Testing Tips
- Always test quick replies in multiple languages to ensure language detection works.
- Validate your JSON output with a JSON validator to avoid syntax errors.
- Check tag application in your inbox to confirm automation triggers.
- Remove extra characters or formatting artifacts when copying JSON prompts.
Start Building Your Dynamic AI Agent Today
Use this guide to build powerful AI agents fast with strict JSON schema in Chatbot Builder AI.
No complex flow builders needed. Experiment with quick replies, cards, user tags, and live API integrations to create personalized, interactive experiences.
Ready to get started? Click Here and launch your first dynamic agent now.
Here is the templates, JSON, and Full Guide linked below
Click Here
Explore Chatbot Builder AI
Ready to integrate automation, AI, and smart systems into your content strategy? Start here:
Website: https://chatbotbuilder.ai
Social Media & Community
Facebook Group
Facebook Page
Join Discord here
YouTube Channel
Instagram
Twitter
.png)
.png)
.png)